• Skip to secondary menu
  • Skip to main content
  • Skip to primary sidebar
  • Clearance Rack
  • Product Suites
  • Bundled Savings

Teresa Buchholz, Stampin' Up! Demonstrator

I fell in love with stamping with my first card and became a Stampin' Up Independent Demonstrator in February 2009. Creating fresh project ideas, cards, scrapbook pages and gifts is more that just stamps and ink, it is about sharing part of yourself with crafters you love.

  • Home
  • Events
  • Current Catalog(s)
  • Specials
  • Shop Now!
  • Join My Team
    • Sign Up Online!
  • Contact

One Bling!

February 24, 2014 Leave a Comment

20140224-085958.jpg
Isn’t this a sad site? One single bling, that’s all until UPS gets back to normal after all the bad weather thru out the US. Hopefully, my order will be here on Tuesday and I will be the bling queen once again.
So, I’ve learned a new technique called monoprinting, and I made this card that screams for just one bling!

20140224-090740.jpg
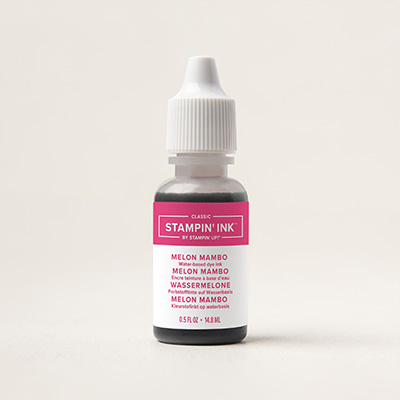
To make this card I used these products,

Happy Day Clear-Mount Stamp Set
$16.95
Rich Razzleberry 8-1/2″ X 11″ Card Stock
$6.95
Whisper White 8-1/2X11 Card Stock
$8.50
Rich Razzleberry Classic Stampin’ Pad
$5.95
Rich Razzleberry Classic Ink Refill
$2.95
Melon Mambo Classic Ink Refill
$2.95
Coastal Cabana Classic Stampin’ Ink Refill
$2.95
7/8″ Scallop Circle Punch
$12.95
1-1/4″ Scallop Circle Punch
$15.95

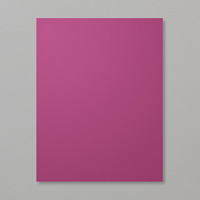
Place reinker drops on your craft mat, use a spritzer and spray with alcohol, place your white card stock into the puddle of ink and twist slightly (maybe about an inch) as you pick it up. While it is drying, cut a 4″ square of Rich Razzleberry , then cut this in half, Cut these 2 strips in half. You will then have 4 squares that are 2″.
With your monoprint, cut cut a 3.5″ square, then cut this in half. Cut these 2 strips in half. You will then have 4 squares that are 1.75″.
Place on your card, stamp the saying below the squares.
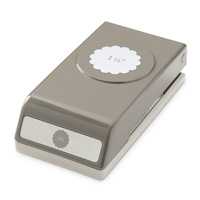
On a piece of scrap white stamp the medallion in Rich Razzleberry, punch out with the 7/8″ scallop, punch a Rich Razzleberry piece with the 1.25″ scallop punch, layer these pieces and place in the center with a dimensional.
Take your one bling and place it in the center for a really fabulous card,

Happy Inking,

Pin
Share
Tweet
Share
0 Shares

Filed Under: Uncategorized

Reader Interactions

Leave a Reply Cancel reply

Your email address will not be published. Required fields are marked *

Primary Sidebar

  • Facebook
  • Instagram
  • Pinterest
  • Twitter
Teresa Buchholz

Teresa Buchholz

Stampin' Up! Demonstrator
Contact Me!


Click to download the Annual Catalog.

AMERICAN Stampin' Up! Annual Catalog

Archives

Categories

Shop My Online Store
Disclaimer

All images © Stampin' Up! 1995-2021; unless otherwise noted, all content on this blog including but not limited to text, photos, designs and artistic concepts are © Teresa Buchholz. All rights to submit any of projects for contests are for only. The content of this blog is my sole responsibility as an independent Stampin' Up! demonstrator and the use of, and content of, the classes, services, or products offered on this blog is not endorsed by Stampin' Up!

Content © Teresa Buchholz, all rights reserved. Wordpress Genesis Framework customized by WebsByAmy, LLC